
I’m getting more and more customer requests that are looking at alternatives for VMware, and are considering a different hypervisor. Since I’m more of a VMware guy, but I am always willing to learn new stuff, I figured I might as well share some info on how to set up the Nutanix cluster on KVM, and create an initial virtual machine.
I’m assuming you have at least some Linux knowledge, and that you were able to get the hosts and the controller VMs configured with an IP address. After that, the basic setup is pretty much the same. Visit the cluser_init page using the IPv6 link local address, which is in the format:
http://ntnx-[block_serial_number]-[node_position]-cvm.local:2100
Which looks something like this:

Fill out the information in that window, and click the “Create” button. Once that is done, you will see some messages popping up underneath:
Configuring IP addresses on node 13SM15400003/A...

Configuring IP addresses on node 13SM15400003/B...

Configuring IP addresses on node 13SM15400003/C...

Configuring the Hypervisor DNS settings on node 13SM15400003/A...

Configuring the Hypervisor DNS settings on node 13SM15400003/B...

Configuring the Hypervisor DNS settings on node 13SM15400003/C...

Configuring the Hypervisor NTP settings on node 13SM15400003/A...

Configuring the Hypervisor NTP settings on node 13SM15400003/B...

Configuring the Hypervisor NTP settings on node 13SM15400003/C...

Configuring Zeus on node 13SM15400003/A...

Configuring Zeus on node 13SM15400003/B...

Configuring Zeus on node 13SM15400003/C...

Initializing cluster...

not ready, trying again in 5 seconds...

Initializing cluster...

Cluster successfully initialized!

Initializing the CVM DNS and NTP servers...

Successfully updated the CVM NTP and DNS server list
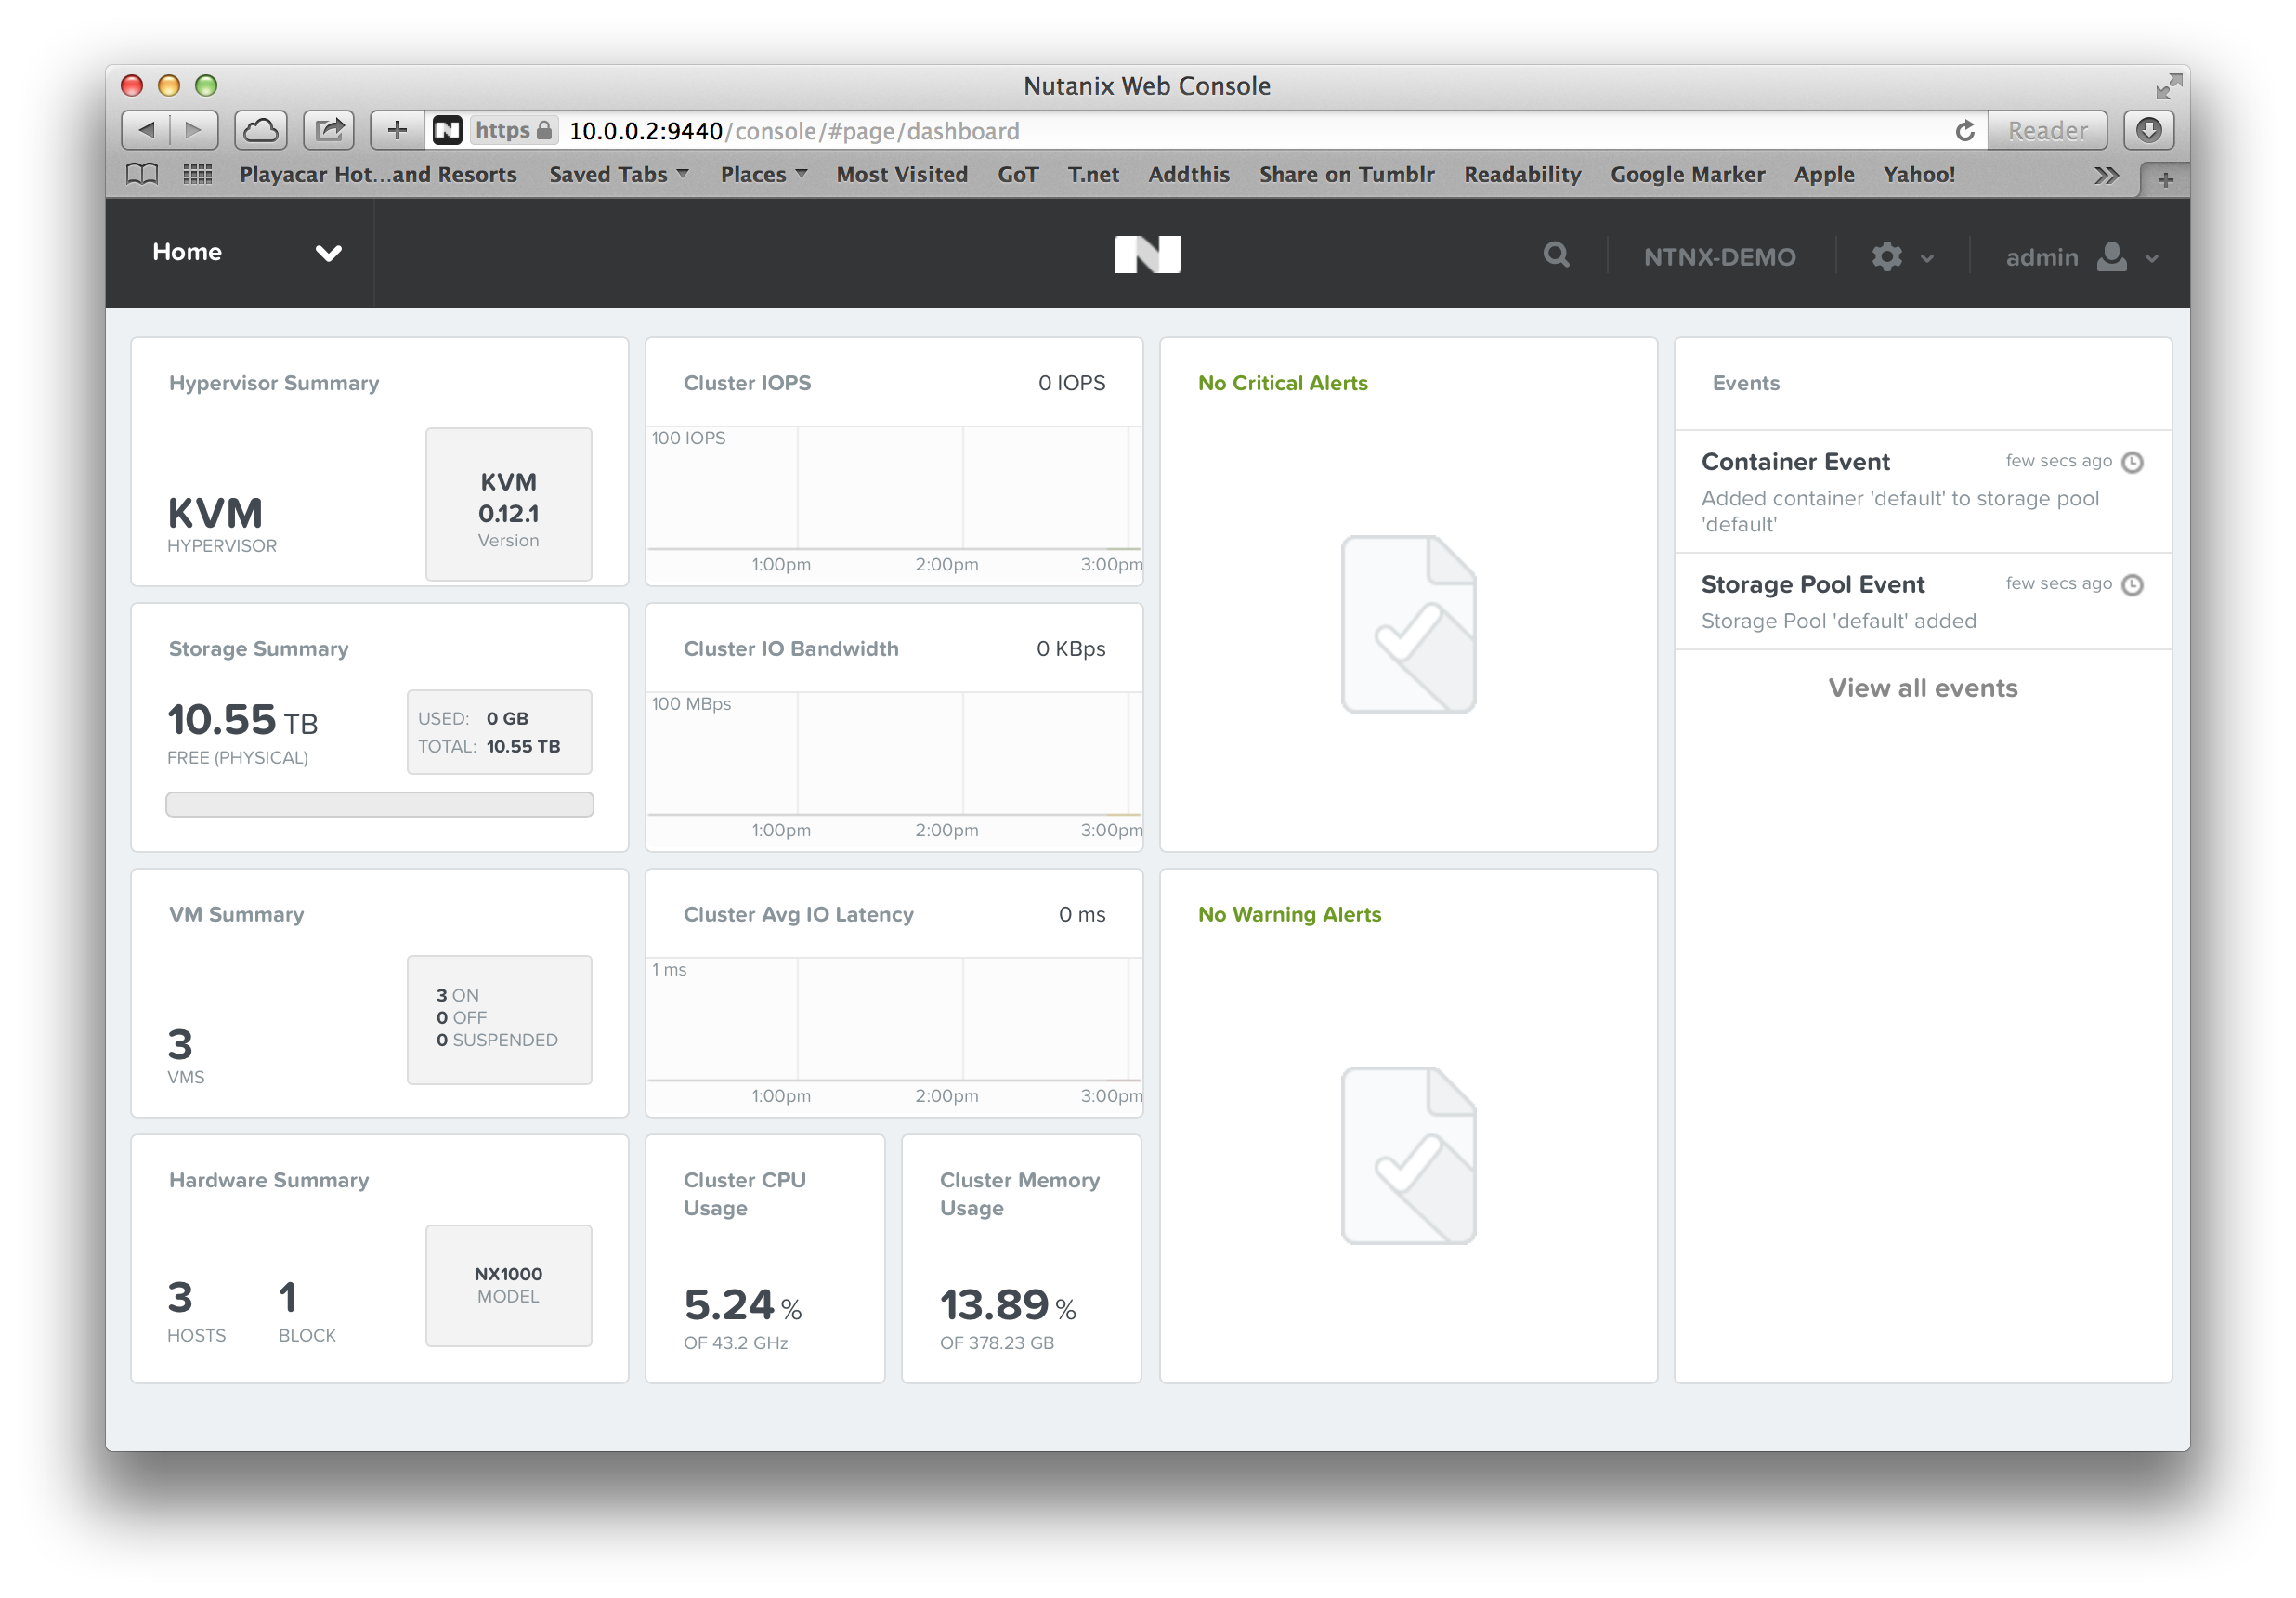
What we are doing, is actually configuring the cluster with all the IP addresses, writing the cluster configuration to the underlying services, and starting the cluster for you. Give it a couple of minutes (usually 2 or 3 minutes will suffice), and you can now log on to the IP address of a controller VM, or the “Cluster External IP” that you put in, using the default username and password:

By the way, I disabled the background video by simply adding “?novideo=true” to the logon URL. This disables the video, and makes logon a bit faster, especially when working via a link that might not have the bandwidth that you would prefer.
I then created a storage pool by the name of “default”, and created a container with the same name. Once that is done, your cluster is ready for its first VMs.
Now, Nutanix relies on the management tools that a Hypervisor offers. In the case of vSphere, this would be vCenter. With KVM, or in our case KVM on CentOS, the selection is a bit more limited. Especially, since we make use of the Open Virtual Switch. That means, right now, we use libvirt as the management API, and wrote some extensions of our own. After all, your VMs will be located on storage that is being provided by Nutanix, so it would be good if we gave you some commands to make use of that storage, right? 😉
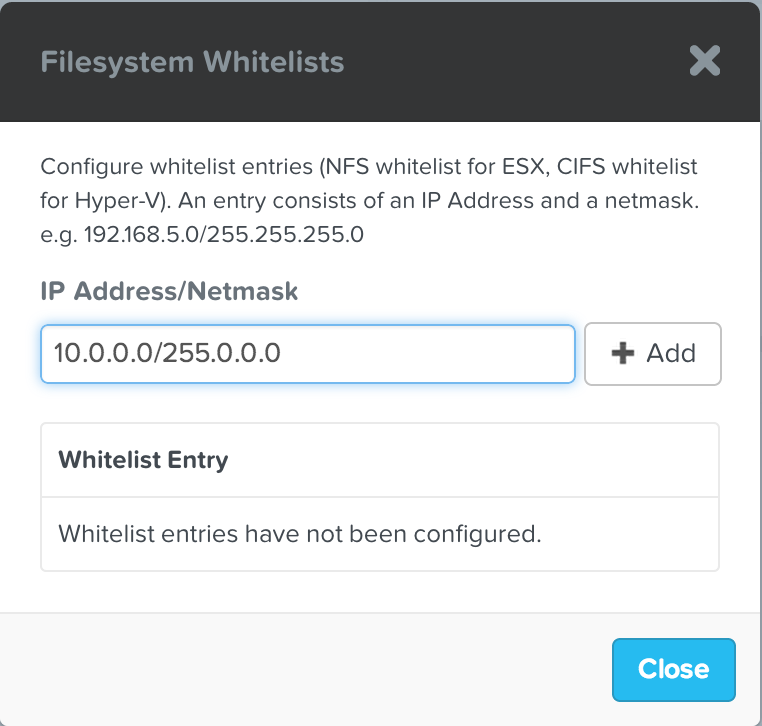
If we want to start the installation of a VM, we are first going to need an installation medium that we can use. So, I’m going to whitelist the default container I just created, and copy over a Ubuntu iso image:
Since you want to be able to see what was uploaded to the container, you can check from any of the controller VMs what is on there:
nutanix@NTNX-13SM15400003-A-CVM:10.0.0.30:~$ nfs_ls

ubuntu-13.04-server-amd64.iso
Now, just pick the host that you want to use for your VM, and create the VM using the virt_install command. For example:
virt_install --name bas_ubuntu_test --disk 32 --cdrom /default/ubuntu-13.04-server-amd64.iso --nic VM-Network --vcpus 2 --ram 4096
Which would result in the following:
nutanix@NTNX-13SM15400003-A-CVM:10.0.0.30:~$ virt_install --name bas_ubuntu_test --disk 32 --cdrom /default/ubuntu-13.04-server-amd64.iso --nic VM-Network --vcpus 2 --ram 4096

2014-02-27 15:26:54 INFO batch_worker.py:211 Preparing nutanix disks: 0%

2014-02-27 15:26:57 INFO batch_worker.py:211 Preparing nutanix disks: 50%

2014-02-27 15:26:57 INFO batch_worker.py:211 Preparing nutanix disks: 100%

2014-02-27 15:26:57 INFO batch_worker.py:211 Creating libvirt storage pools: 0%

2014-02-27 15:26:59 INFO batch_worker.py:211 Creating libvirt storage pools: 50%

2014-02-27 15:26:59 INFO batch_worker.py:211 Creating libvirt storage pools: 100%

2014-02-27 15:26:59 INFO kvm_domain_template.py:184 Running virt-install
Now you have multiple options. You could connect using virt-manager:

Or, alternatively, you could open up the VNC port that the VM is running on (or disable iptables alltogether), and use your favorite VNC client to manage the newly created VM:

Most of the commands that Nutanix implemented come with a syntax that is very similar to the native libvirt syntax, but the commands will be named with an underscore instead of a dash. For example live migration of a VM can be performed using:
virt_migrate --vm bas_ubuntu_test --destination 10.0.0.20 --live
That’s it for a rough overview. If you have any questions, feel free to contact your local SE, or leave a note in the comments. 🙂

Hi Bas
Thank you very much for this nice guide.
One thing maybe could be helpful to mention is, that the cluster_init page over the IPv6 link local is only working on the 10Gig interfaces.
You know, I lost “some” time here the last time when setting up KVM 😉
Kind regards, Stefan
Hi Stefan, absolutely valid point. Simple solution is to either hook up the 10GB interfaces, or extending the ovs bridge with the 1GB interfaces.
Reblogged this on Technology and Real-Life! IT, Storage and Future and commented:
I’ve noticed end user and MSPs moving to MS hyperV as its a lower support cost and licensing. Good article thanks for posting it.
hi bass.
how to put iso to container? and where the path?
please help me…. 😦