KVM, Nutanix, Storage, Uncategorized, Virtualization, VMware

Nutanix OS 4.0 – Prism Central

One of the features that has been announced for Nutanix OS 4.0 (also called NOS), is something called Prism Central.

So what does Prism Central do? Well, perhaps things are more obvious if we speak about the internal name we once used. It was referenced as our Multi-Cluster UI, and that is exactly what it is. Instead of having to open multiple tabs in your browser and switching between tabs to actually manage your Nutanix clusters, you can now open one tab, register multiple clusters, and manage them all from one interface, or get a basic overview of what is going on across all clusters.

First things first: Disclaimer – Keep in mind this is based on an early code version, and things will most likely change before you can download the software.

I spoke to our developers, and received a version to play with, so I’ll walk you through the process. Prism Central comes as an OVF, and you simply deploy this VM in your infrastructure. The requirements for the VM are the following (again, this might change):

8GB RAM
2 vCPUs
260GB disk space

With that configuration, you can monitor 100 nodes while we assume that you can go up to 100 VMs per node.

With that said, the installation itself is quite easy. We deploy the OVF from vCenter:

Prism Central - OVF Deployment
Prism Central – OVF Deployment

We give the VM a name:

Prism Central - OVF Deployment - Naming
Prism Central – OVF Deployment – Naming

And follow the normal steps for any OVF. Things like selecting a resource pool, datastore, and then selecting the disk format and network mapping. You will only need one interface, but I’d recommend deploying the Prism Central VM in the same network as your controller VMs. Once that is done, you click on “Finish” and wait for the VM to deploy:

Prism Central - OVF Deployment - Finished
Prism Central – OVF Deployment – Finished

Now, my assumption is that we will be changing to the OVA format to make deployment a bit easier. In this version, I still had to configure the IP addresses manually (no DHCP in my network), and deploying from an OVA should make that a breeze, but I will outline the steps I used here anyway.

After connecting to the vSphere console of the VM, we log on to the console using “nutanix” as the user and “nutanix/4u” as the password. Then, you simply edit the file /etc/sysconfig/network-scripts/ifcfg-eth0 and input the IP-address you would like to use. In my case it looks like this:

DEVICE="eth0"
NM_CONTROLLED="no"
ONBOOT="yes"
BOOTPROTO="none"
IPADDR="10.64.20.110"
NETMASK="255.255.255.0"
GATEWAY="10.64.20.1"

Simply save the file and restart your network services, and you should now be able to access the machine using your favorite ssh client. Now there is one thing left to do (and again, I’m assuming this should no longer be there in a final release, just trying to be complete):

cluster -f --cluster_function_list="multicluster" -s ip_of_your_prism_central create

Which should result in something like this:
nutanix@NTNX-10-64-20-110-A-CVM:~$ cluster -f --cluster_function_list="multicluster" -s 10.64.20.110 create
2014-04-17 05:50:37 INFO cluster:1469 Executing action create on SVMs 10.64.20.110
2014-04-17 05:50:37 INFO cluster:593 Discovered node:
ip: 10.64.20.110
rackable_unit_serial: 10-64-20-110
node_position: A
node_uuid: ed763914-2c16-4aff-9b6b-d4ea962af9fe

2014-04-17 05:50:37 INFO cluster:632 Configuring Zeus mapping ({u'10.64.20.110': 1}) on SVM node 10.64.20.110
2014-04-17 05:50:37 INFO cluster:650 Creating cluster with SVMs: 10.64.20.110
2014-04-17 05:50:37 INFO cluster:654 Disable fault tolerance for 1-node cluster
2014-04-17 05:50:39 INFO cluster:687 Waiting for services to start
Waiting on 10.64.20.110 (Up, ZeusLeader) to start: ConnectionSplicer Medusa DynamicRingChanger Pithos Prism AlertManager Arithmos SysStatCollector
Waiting on 10.64.20.110 (Up, ZeusLeader) to start: DynamicRingChanger Pithos Prism AlertManager Arithmos SysStatCollector
...
...
...
Waiting on 10.64.20.110 (Up, ZeusLeader) to start: DynamicRingChanger Pithos Prism AlertManager Arithmos SysStatCollector
Waiting on 10.64.20.110 (Up, ZeusLeader) to start: AlertManager Arithmos SysStatCollector
Waiting on 10.64.20.110 (Up, ZeusLeader) to start:
The state of the cluster: start
Lockdown mode: Enabled

CVM: 10.64.20.110 Up, ZeusLeader
Zeus UP [14429, 14442, 14443, 14447, 14453, 14466]
Scavenger UP [14660, 14675, 14676, 14793]
ConnectionSplicer UP [14690, 14703]
Medusa UP [14760, 14775, 14776, 14780, 14940]
DynamicRingChanger UP [15946, 15973, 15974, 15986]
Pithos UP [15950, 15980, 15981, 15994]
Prism UP [15969, 15995, 15996, 16004]
AlertManager UP [16019, 16049, 16051, 16079, 16102]
Arithmos UP [16029, 16080, 16081, 16099]
SysStatCollector UP [16041, 16092, 16093, 16178]
2014-04-17 05:51:07 INFO cluster:1531 Success!

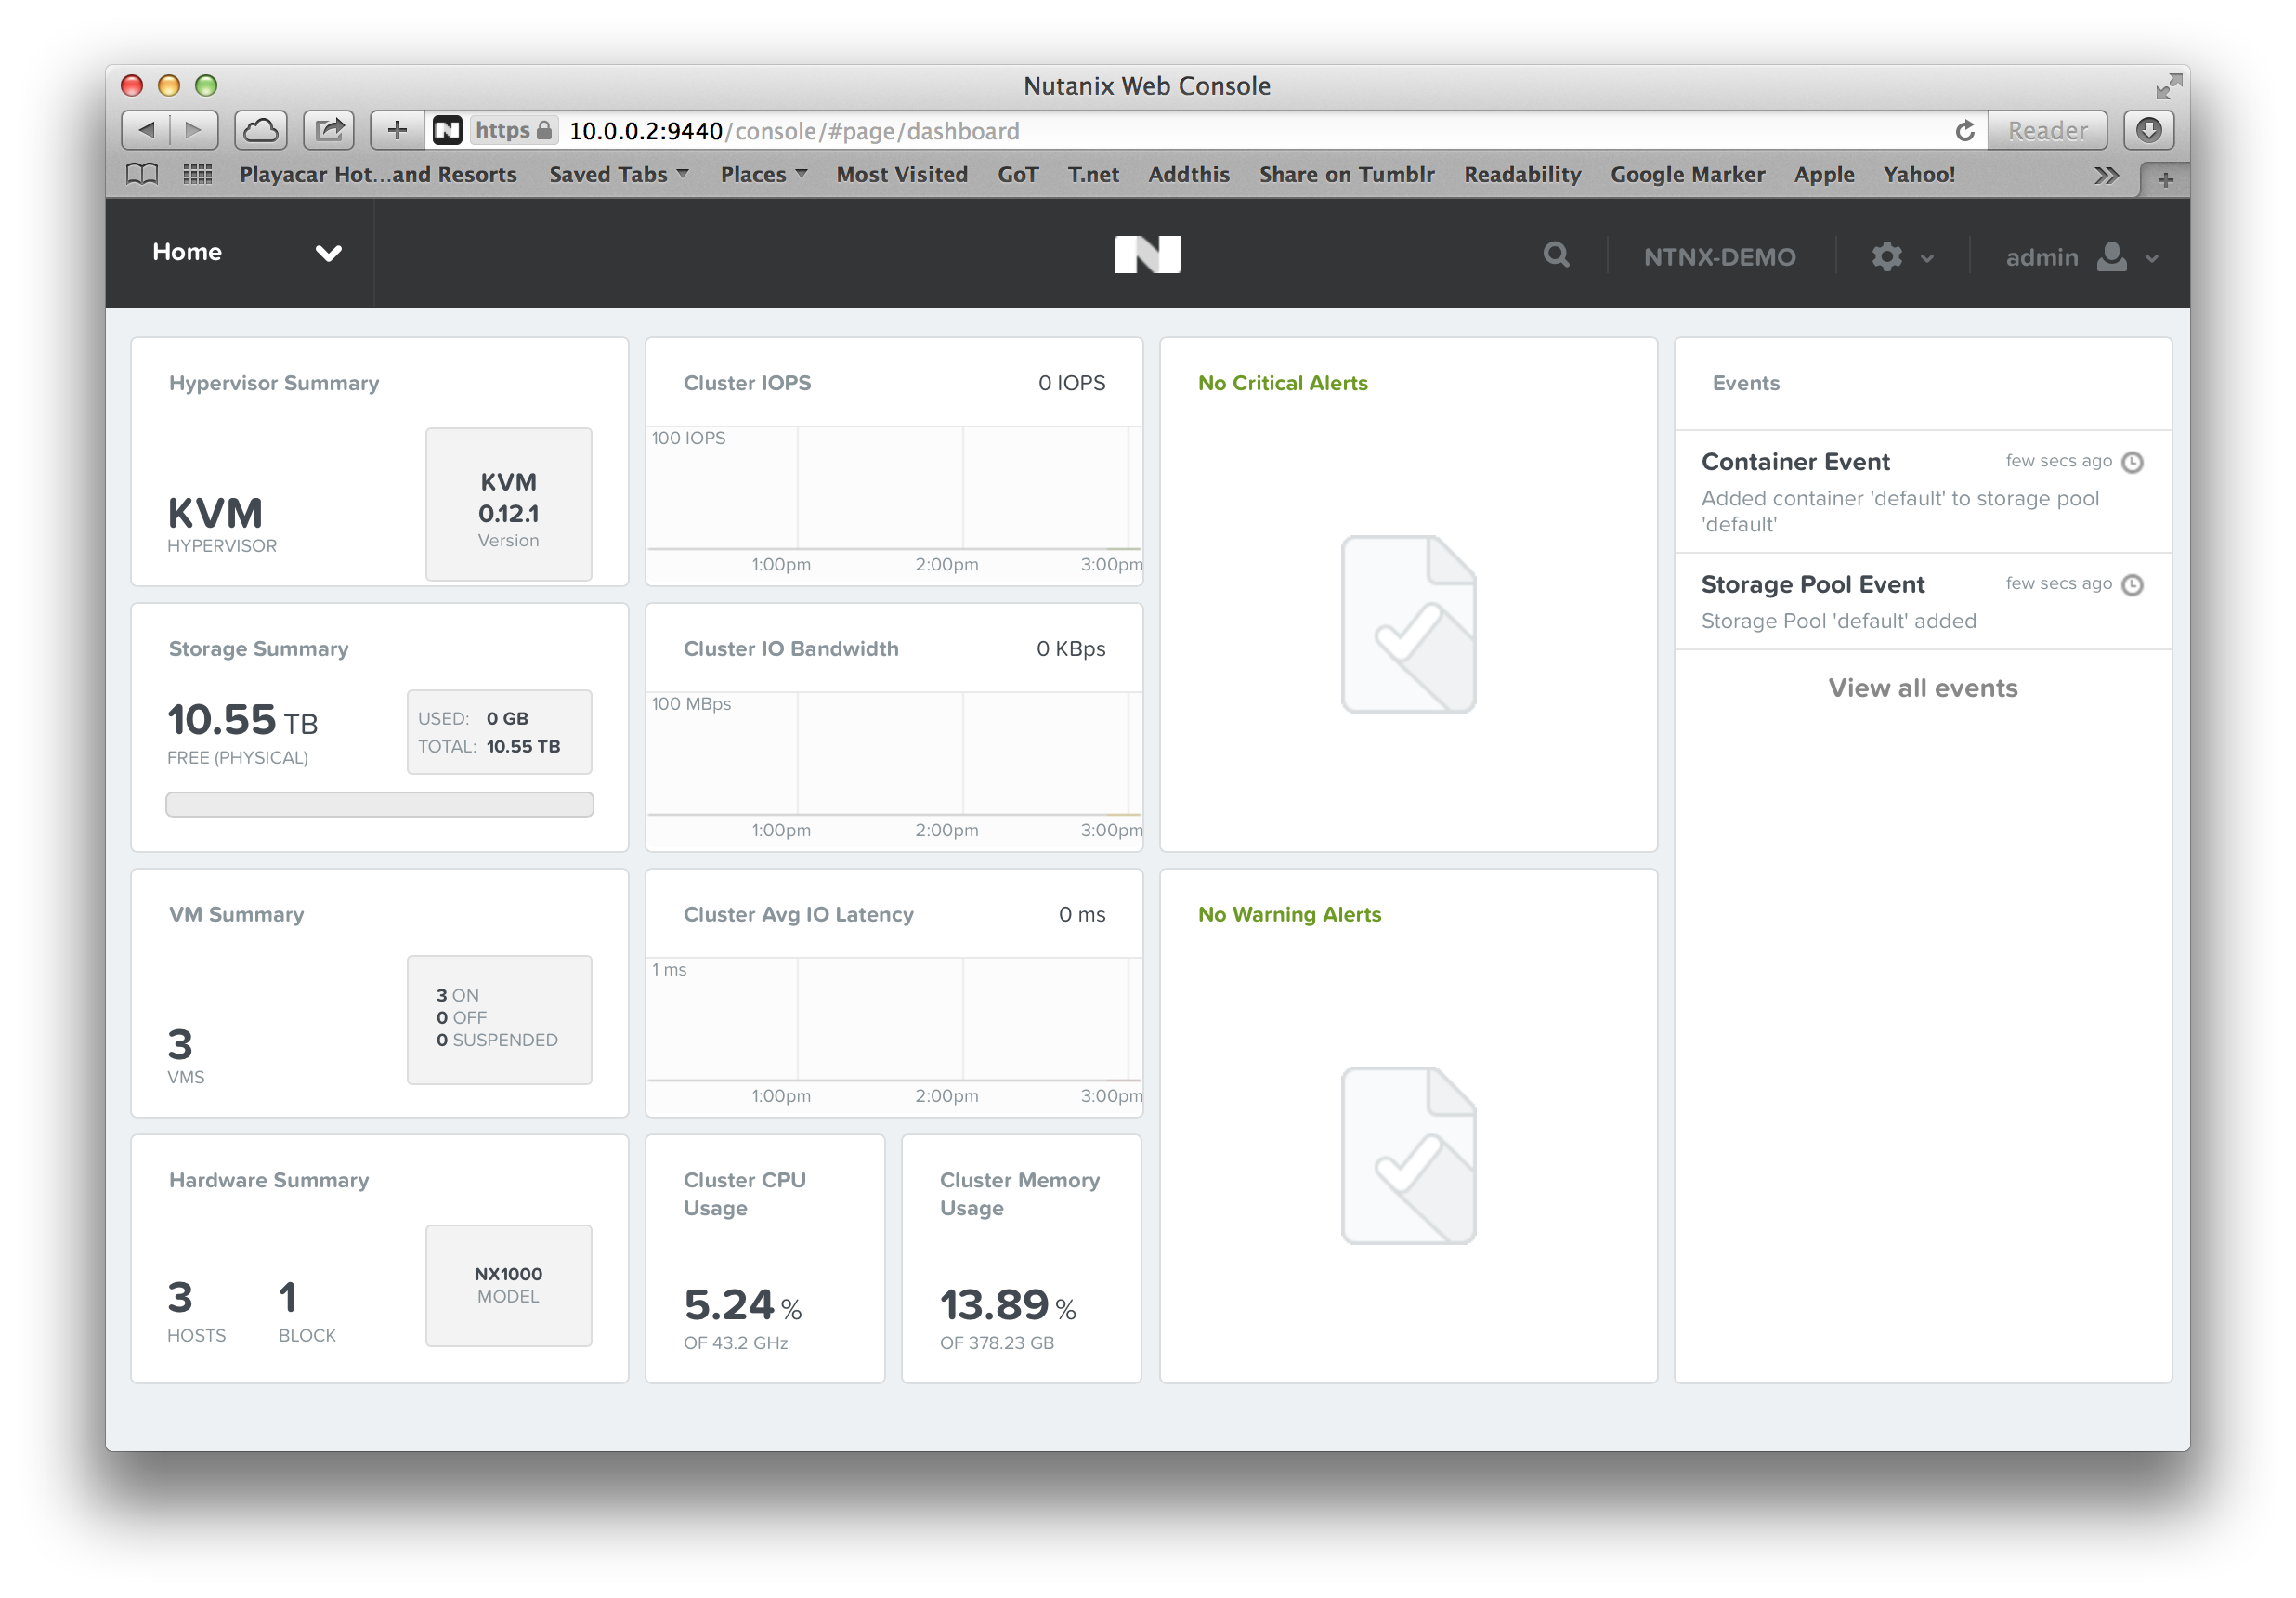
And voila! You can now log on to your instance of Prism Central!

Prism Central
Prism Central

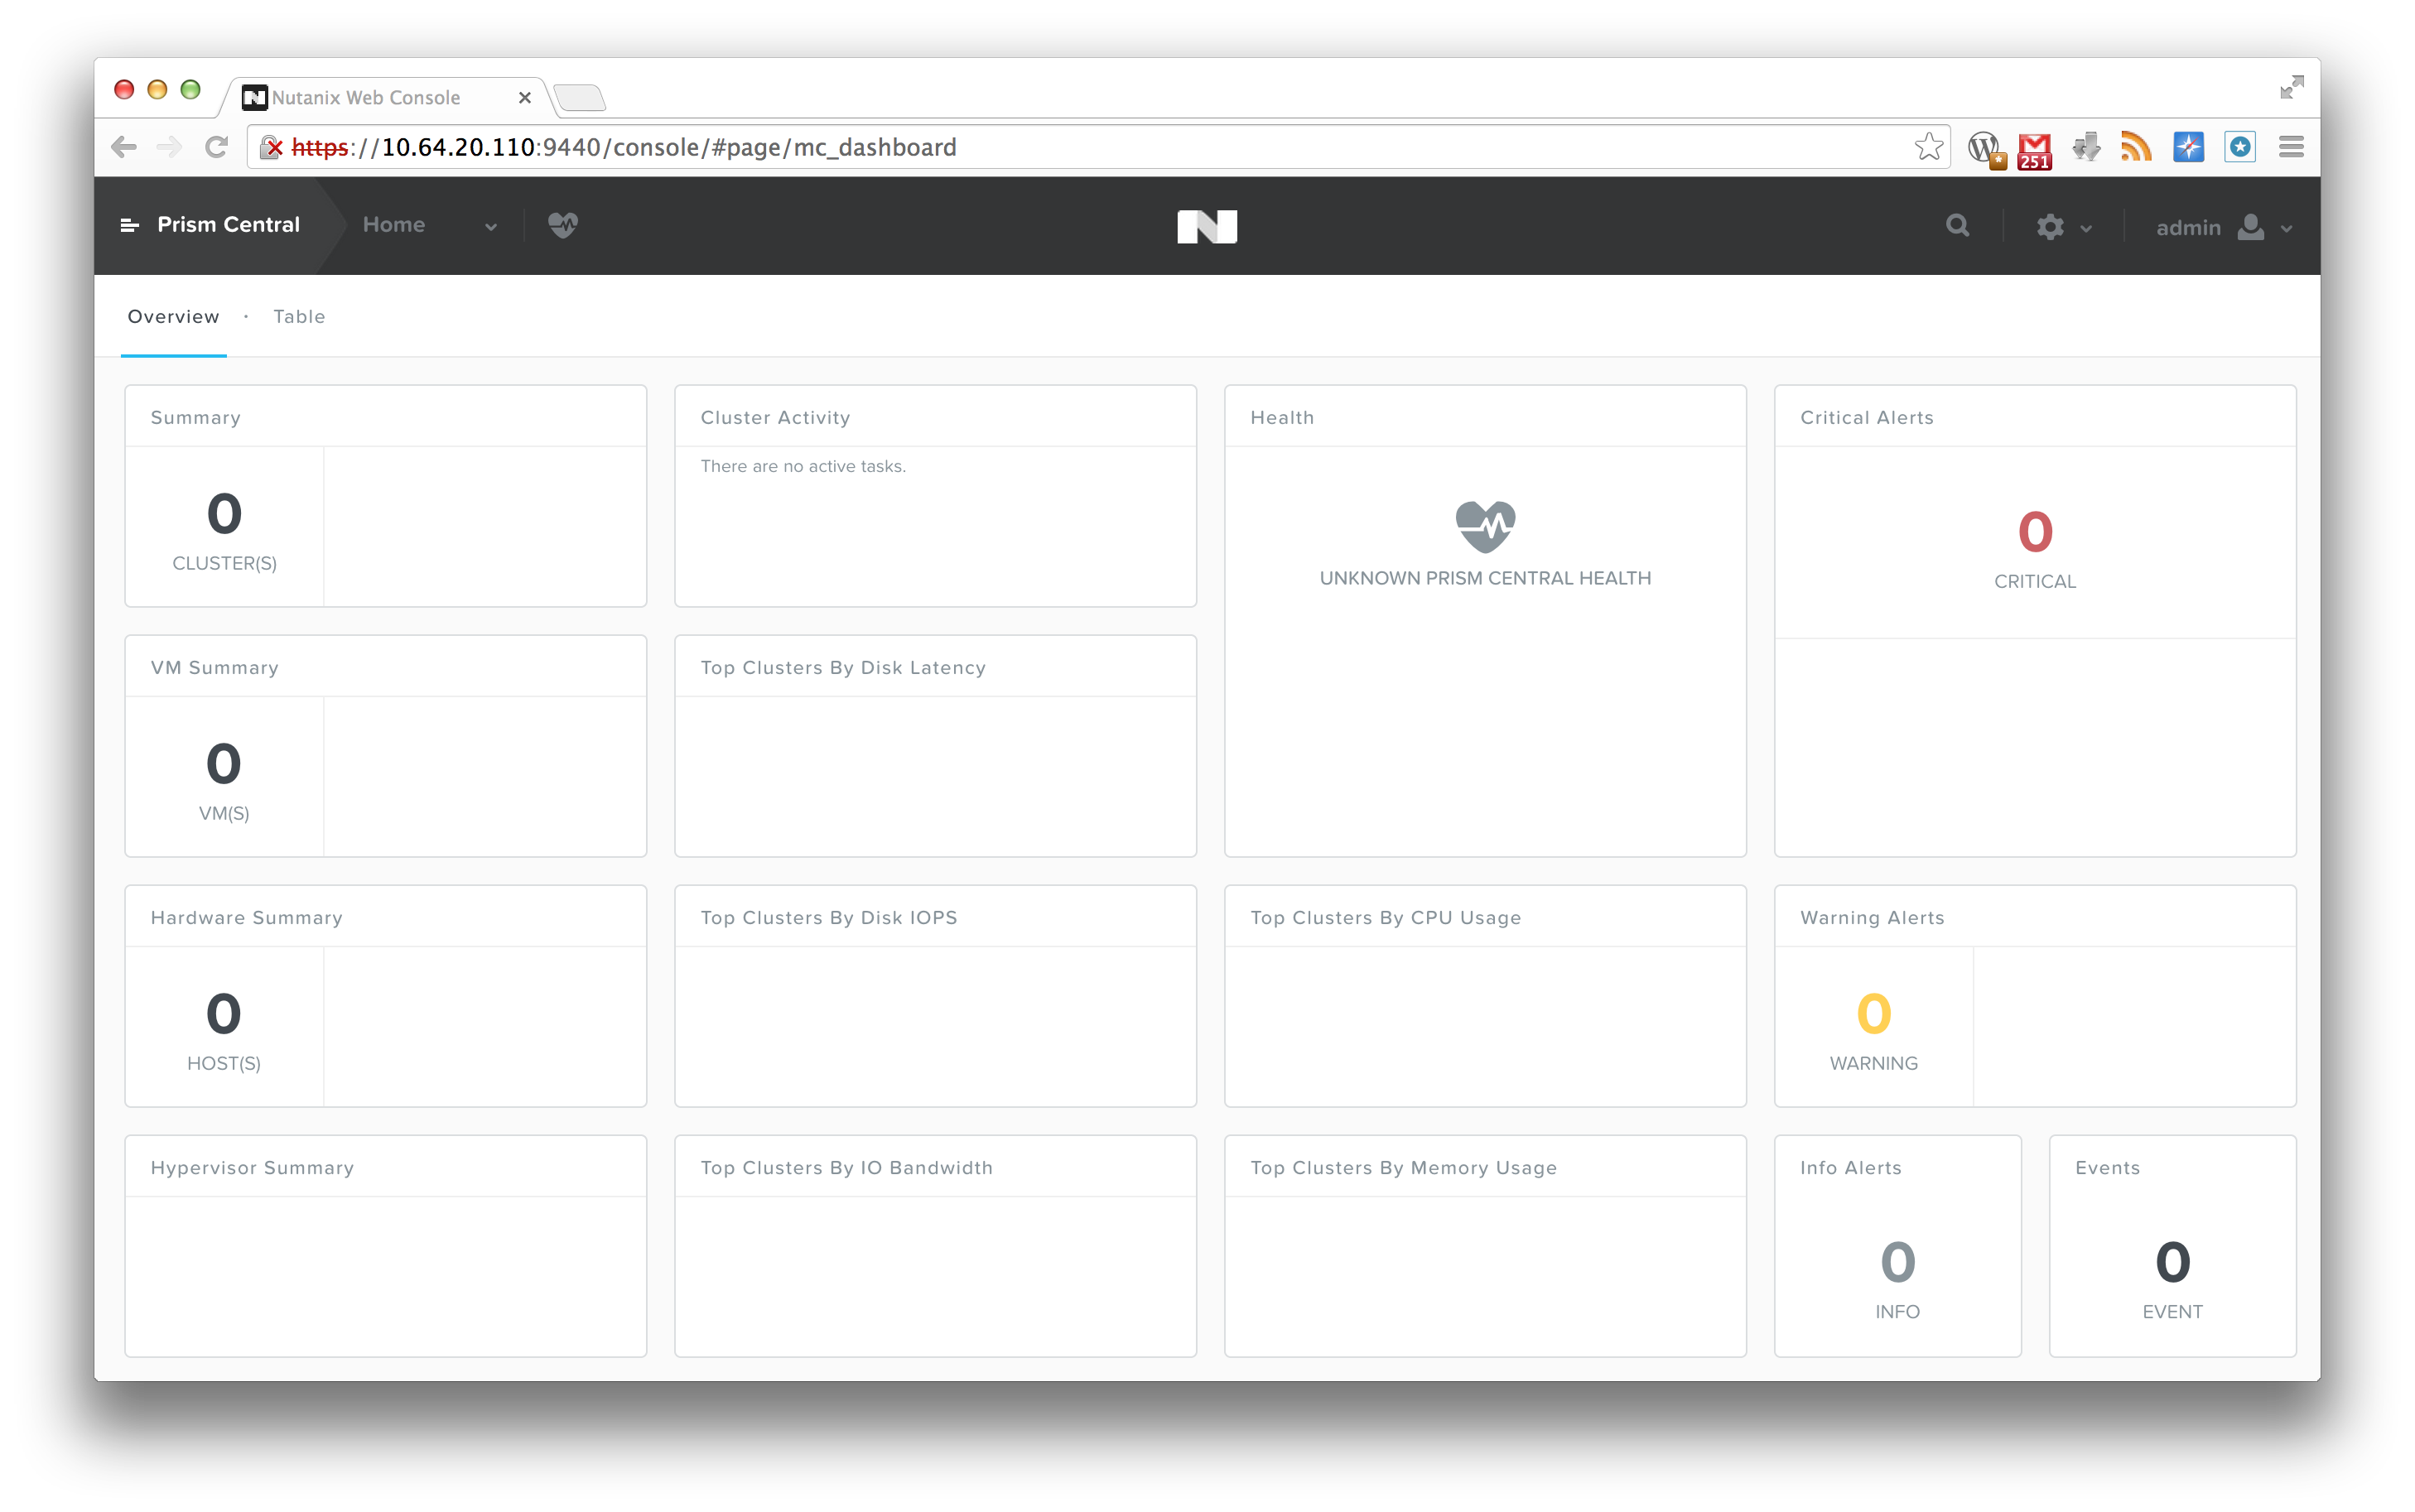
As you can see, it looks quite the same as the regular 4.0 version, except that if you click on the top left “Prism Central” text, a menu will fold out on the left hand side. But, since we want to monitor a cluster, let’s go ahead and register a cluster.

To do so, just connect to your NOS 4.0 cluster, and click on the small gear symbol on the top right corner, and select “Prism Central Registration”. There, fill out the Prism Central IP, the username and password for Prism Central, and click on “Save”

Prism Central - Registration
Prism Central – Registration

If all goes well, the cluster registers, and you will see an event in your Prism Central stating that a user has been added (we support single sign on in Prism Central), and that a cluster has been added to Multicluster. And, you should now be able to see the new cluster that was registered in Prism Central:

Prism Central - Cluster registered
Prism Central – Cluster registered

To now manage that cluster, simply click on Prism Central on the top left, and then select the cluster from the list on the left hand side:

Prism Central - Cluster selection
Prism Central – Cluster selection

From there on, you can manage the cluster just like you would in your regular interface. My colleague Suda Srinivasan was kind enough to create a video that walks you through the interface:

So, that’s it for now. If you have any questions, feel free to let me know.

KVM, Nutanix, Storage, Virtualization

Installing VMs under KVM on Nutanix

I’m getting more and more customer requests that are looking at alternatives for VMware, and are considering a different hypervisor. Since I’m more of a VMware guy, but I am always willing to learn new stuff, I figured I might as well share some info on how to set up the Nutanix cluster on KVM, and create an initial virtual machine.

I’m assuming you have at least some Linux knowledge, and that you were able to get the hosts and the controller VMs configured with an IP address. After that, the basic setup is pretty much the same. Visit the cluser_init page using the IPv6 link local address, which is in the format:

http://ntnx-[block_serial_number]-[node_position]-cvm.local:2100

Which looks something like this:

Nutanix - Cluster Init
Nutanix – Cluster init

Fill out the information in that window, and click the “Create” button. Once that is done, you will see some messages popping up underneath:
Configuring IP addresses on node 13SM15400003/A...
Configuring IP addresses on node 13SM15400003/B...
Configuring IP addresses on node 13SM15400003/C...
Configuring the Hypervisor DNS settings on node 13SM15400003/A...
Configuring the Hypervisor DNS settings on node 13SM15400003/B...
Configuring the Hypervisor DNS settings on node 13SM15400003/C...
Configuring the Hypervisor NTP settings on node 13SM15400003/A...
Configuring the Hypervisor NTP settings on node 13SM15400003/B...
Configuring the Hypervisor NTP settings on node 13SM15400003/C...
Configuring Zeus on node 13SM15400003/A...
Configuring Zeus on node 13SM15400003/B...
Configuring Zeus on node 13SM15400003/C...
Initializing cluster...
not ready, trying again in 5 seconds...
Initializing cluster...
Cluster successfully initialized!
Initializing the CVM DNS and NTP servers...
Successfully updated the CVM NTP and DNS server list

What we are doing, is actually configuring the cluster with all the IP addresses, writing the cluster configuration to the underlying services, and starting the cluster for you. Give it a couple of minutes (usually 2 or 3 minutes will suffice), and you can now log on to the IP address of a controller VM, or the “Cluster External IP” that you put in, using the default username and password:

Nutanix - Cluster logon
Nutanix – Cluster logon

By the way, I disabled the background video by simply adding “?novideo=true” to the logon URL. This disables the video, and makes logon a bit faster, especially when working via a link that might not have the bandwidth that you would prefer.

I then created a storage pool by the name of “default”, and created a container with the same name. Once that is done, your cluster is ready for its first VMs.

Nutanix - Cluster ready
Nutanix – Cluster ready

Now, Nutanix relies on the management tools that a Hypervisor offers. In the case of vSphere, this would be vCenter. With KVM, or in our case KVM on CentOS, the selection is a bit more limited. Especially, since we make use of the Open Virtual Switch. That means, right now, we use libvirt as the management API, and wrote some extensions of our own. After all, your VMs will be located on storage that is being provided by Nutanix, so it would be good if we gave you some commands to make use of that storage, right? 😉

If we want to start the installation of a VM, we are first going to need an installation medium that we can use. So, I’m going to whitelist the default container I just created, and copy over a Ubuntu iso image:

Nutanix - Filesystem whitelist
Nutanix – Filesystem whitelist

Since you want to be able to see what was uploaded to the container, you can check from any of the controller VMs what is on there:
nutanix@NTNX-13SM15400003-A-CVM:10.0.0.30:~$ nfs_ls
ubuntu-13.04-server-amd64.iso

Now, just pick the host that you want to use for your VM, and create the VM using the virt_install command. For example:
virt_install --name bas_ubuntu_test --disk 32 --cdrom /default/ubuntu-13.04-server-amd64.iso --nic VM-Network --vcpus 2 --ram 4096

Which would result in the following:
nutanix@NTNX-13SM15400003-A-CVM:10.0.0.30:~$ virt_install --name bas_ubuntu_test --disk 32 --cdrom /default/ubuntu-13.04-server-amd64.iso --nic VM-Network --vcpus 2 --ram 4096
2014-02-27 15:26:54 INFO batch_worker.py:211 Preparing nutanix disks: 0%
2014-02-27 15:26:57 INFO batch_worker.py:211 Preparing nutanix disks: 50%
2014-02-27 15:26:57 INFO batch_worker.py:211 Preparing nutanix disks: 100%
2014-02-27 15:26:57 INFO batch_worker.py:211 Creating libvirt storage pools: 0%
2014-02-27 15:26:59 INFO batch_worker.py:211 Creating libvirt storage pools: 50%
2014-02-27 15:26:59 INFO batch_worker.py:211 Creating libvirt storage pools: 100%
2014-02-27 15:26:59 INFO kvm_domain_template.py:184 Running virt-install

Now you have multiple options. You could connect using virt-manager:

Nutanix - virt-manager
Nutanix – virt-manager

Or, alternatively, you could open up the VNC port that the VM is running on (or disable iptables alltogether), and use your favorite VNC client to manage the newly created VM:

Nutanix - VNC
Nutanix – VNC

Most of the commands that Nutanix implemented come with a syntax that is very similar to the native libvirt syntax, but the commands will be named with an underscore instead of a dash. For example live migration of a VM can be performed using:
virt_migrate --vm bas_ubuntu_test --destination 10.0.0.20 --live

That’s it for a rough overview. If you have any questions, feel free to contact your local SE, or leave a note in the comments. 🙂